Shimoda Urban Explore 25: one-minute review
There has clearly been a lot of thought put into the design of the stylish and simple Shimoda Urban Explore 25. The bag’s layout is quite conventional, with a top compartment for everyday accessories, a main camera core at the heart of the bag, and various pockets throughout for productive storage.
Whilst there is nothing massively groundbreaking, the small design touches add up: rubber grips on pockets to prevent items from slipping out, handles on three sides of the bag, a cable management pocket, USB power passthrough, a strap loop for a camera clamp, a dedicated Apple Air Tag pocket, and a secret passport pocket.
The padding provides a good balance between comfort, security, and weight, and I found the bag comfortable to wear all day.
We’re not looking at perfection: access to the waterproof cover is tricky and there’s no dedicated spot for a USB battery for the passthrough hole. But these are quite trivial points that don’t detract from the overall quality of the Shimoda Urban Explore 25 bag.
Shimoda Urban Explore 25: design
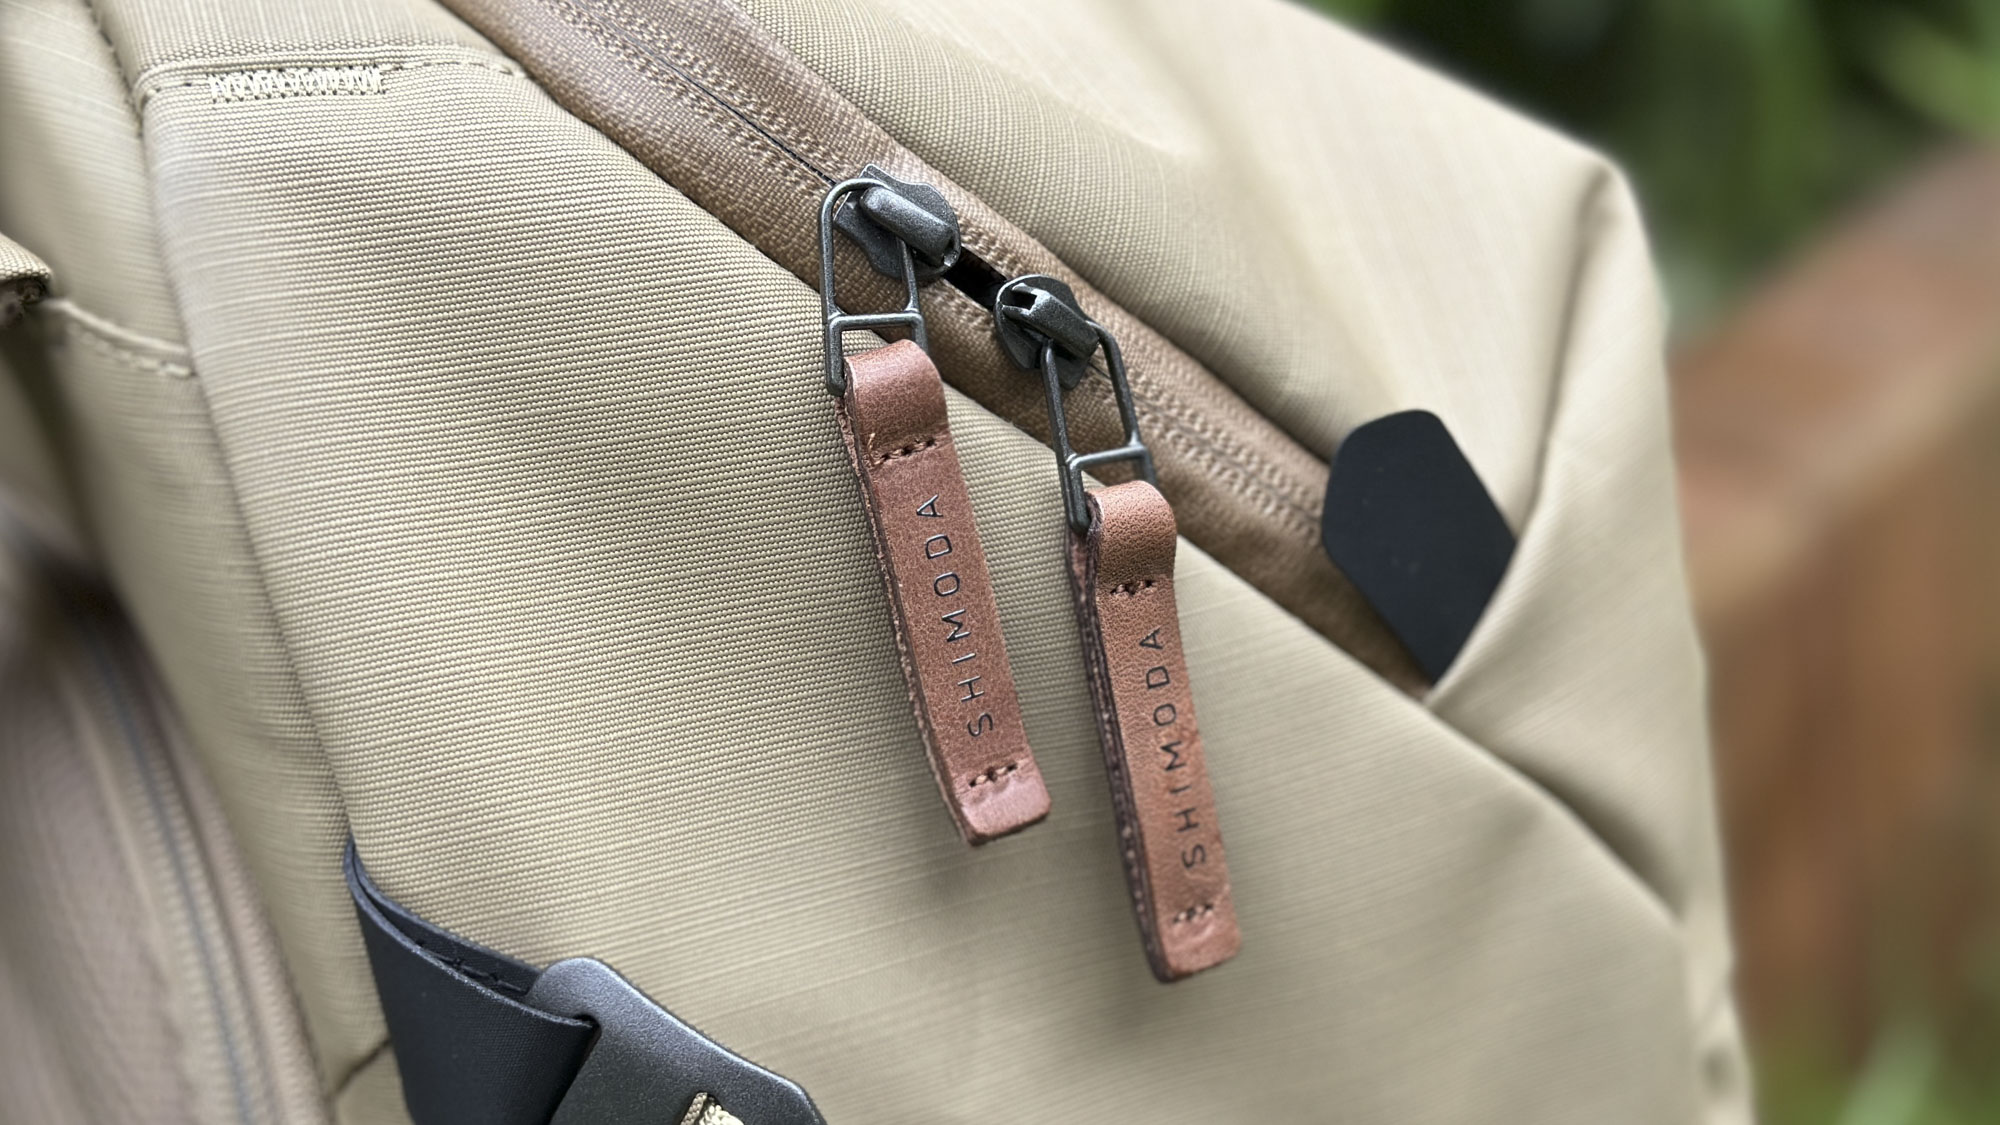
When worn on the back, the Shimoda Urban Explore 25’s minimalist look could fool you into thinking that the bag might be somewhat basic, which is anything but the truth. Beneath the strong, tough Cordura material and stylish leather zip-pulls are discerning features that will appeal to those wanting a photo backpack for that weekend city break.
Shimoda Urban Explore 25 price and release date
The Shimoda Urban Explore 25 has a list price of $319.95/ £305 and is available in Anthracite or Boa color variants. There are also 20L and 30L versions of the bag, also available in Anthracite or Boa. The Urban Explore 20 is $279.95/£285, and the Urban Explore 30 is $339.95/£330.
Obviously, the smaller size will be preferential for those needing less camera kit and using smaller laptops or tablets, while the larger of the three will hold more kit and larger professional laptops. You can find full specifications for each of the bags on the Shimoda website.
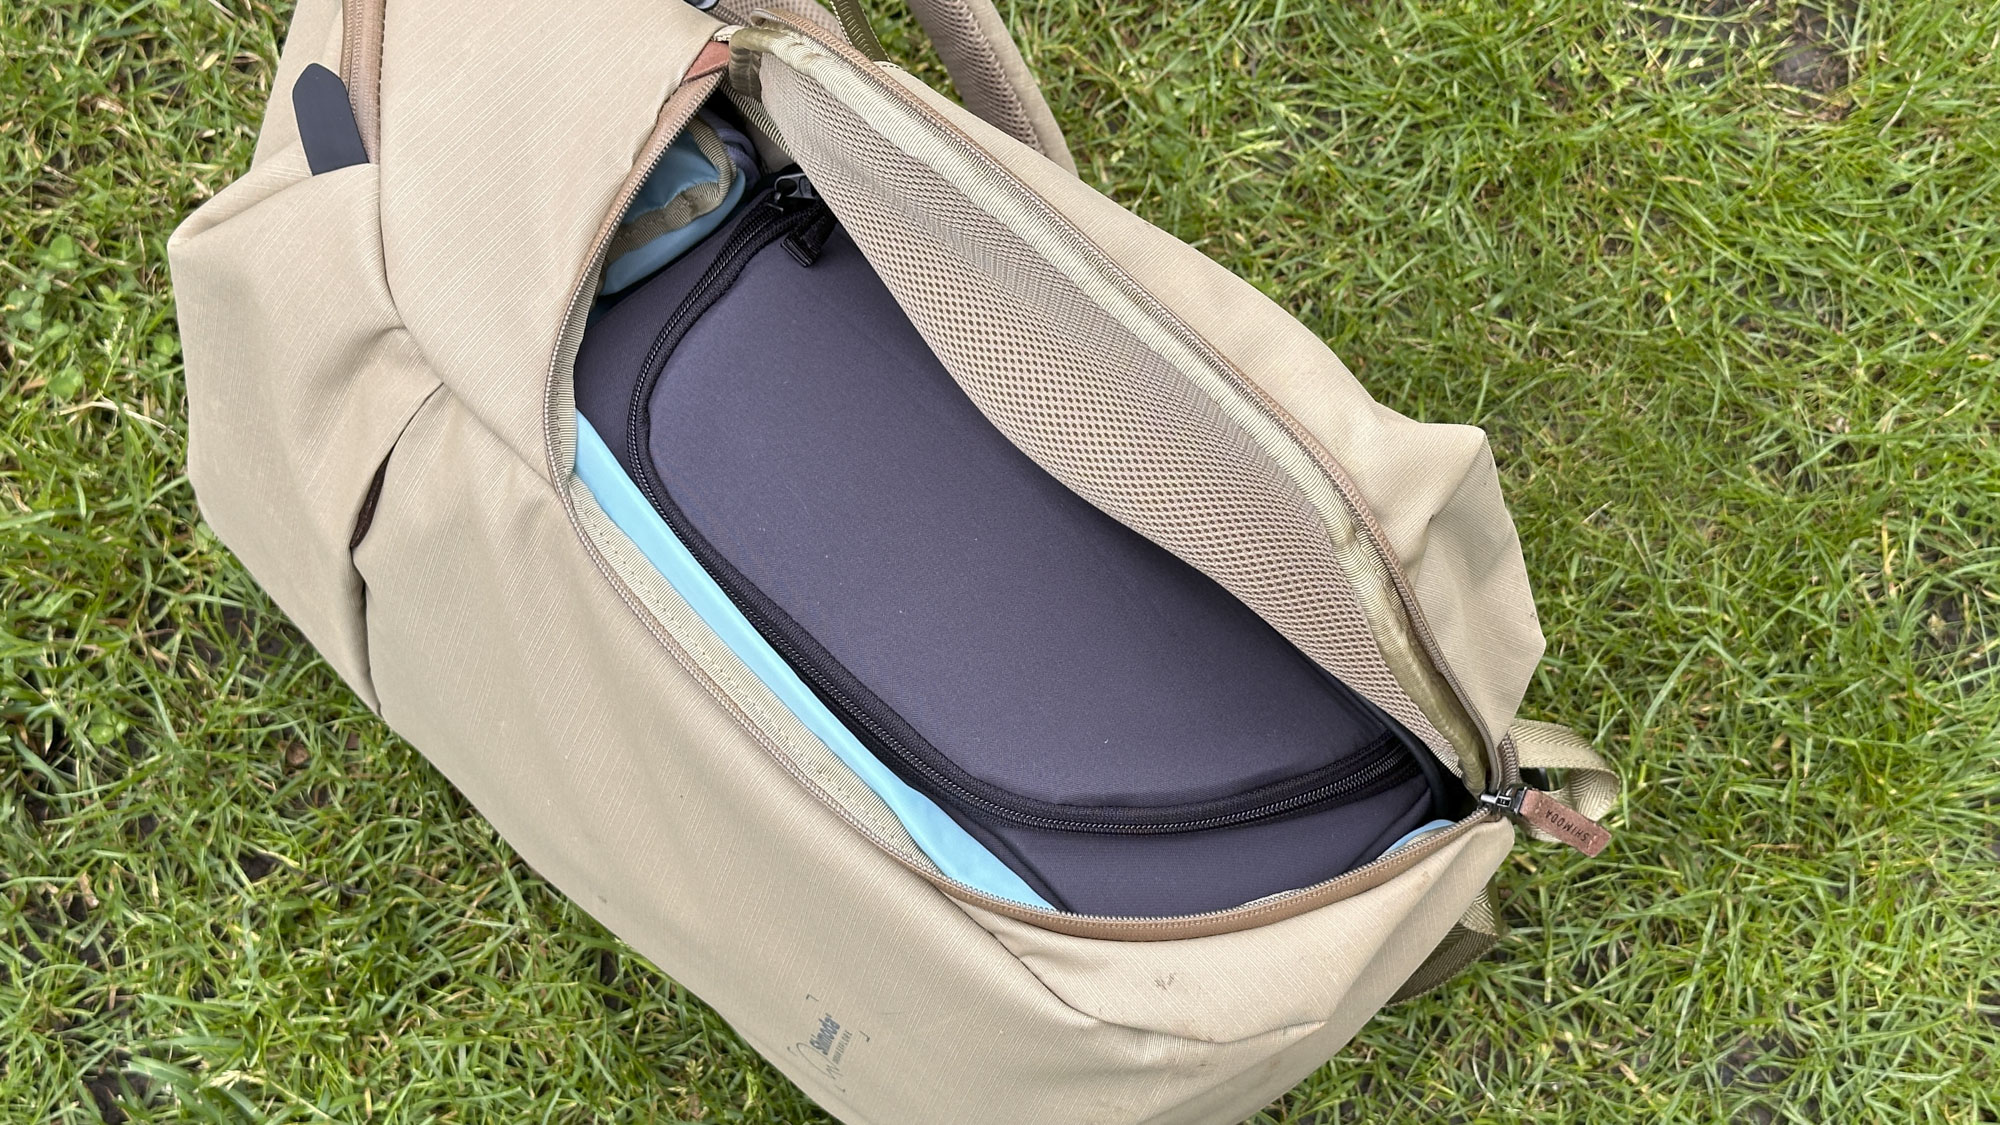
The bag layout is quite conventional: there’s a main compartment with a removable camera core should you wish to use it as a regular backpack, a top compartment ideal for accessories, plus two pockets one on each side for either a tripod or a drinks bottle. These side pockets are unzipped, with one allowing quick access to the main camera compartment (which can also be zipped closed internally for extra security). In contrast, the other side opens and reveals a pocket and elasticated loops for keeping all those essential cables neat and tidy. Within each of these compartments are plenty of pockets and even hidden spaces, which we will come on to later.
Shimoda Urban Explore 25: performance
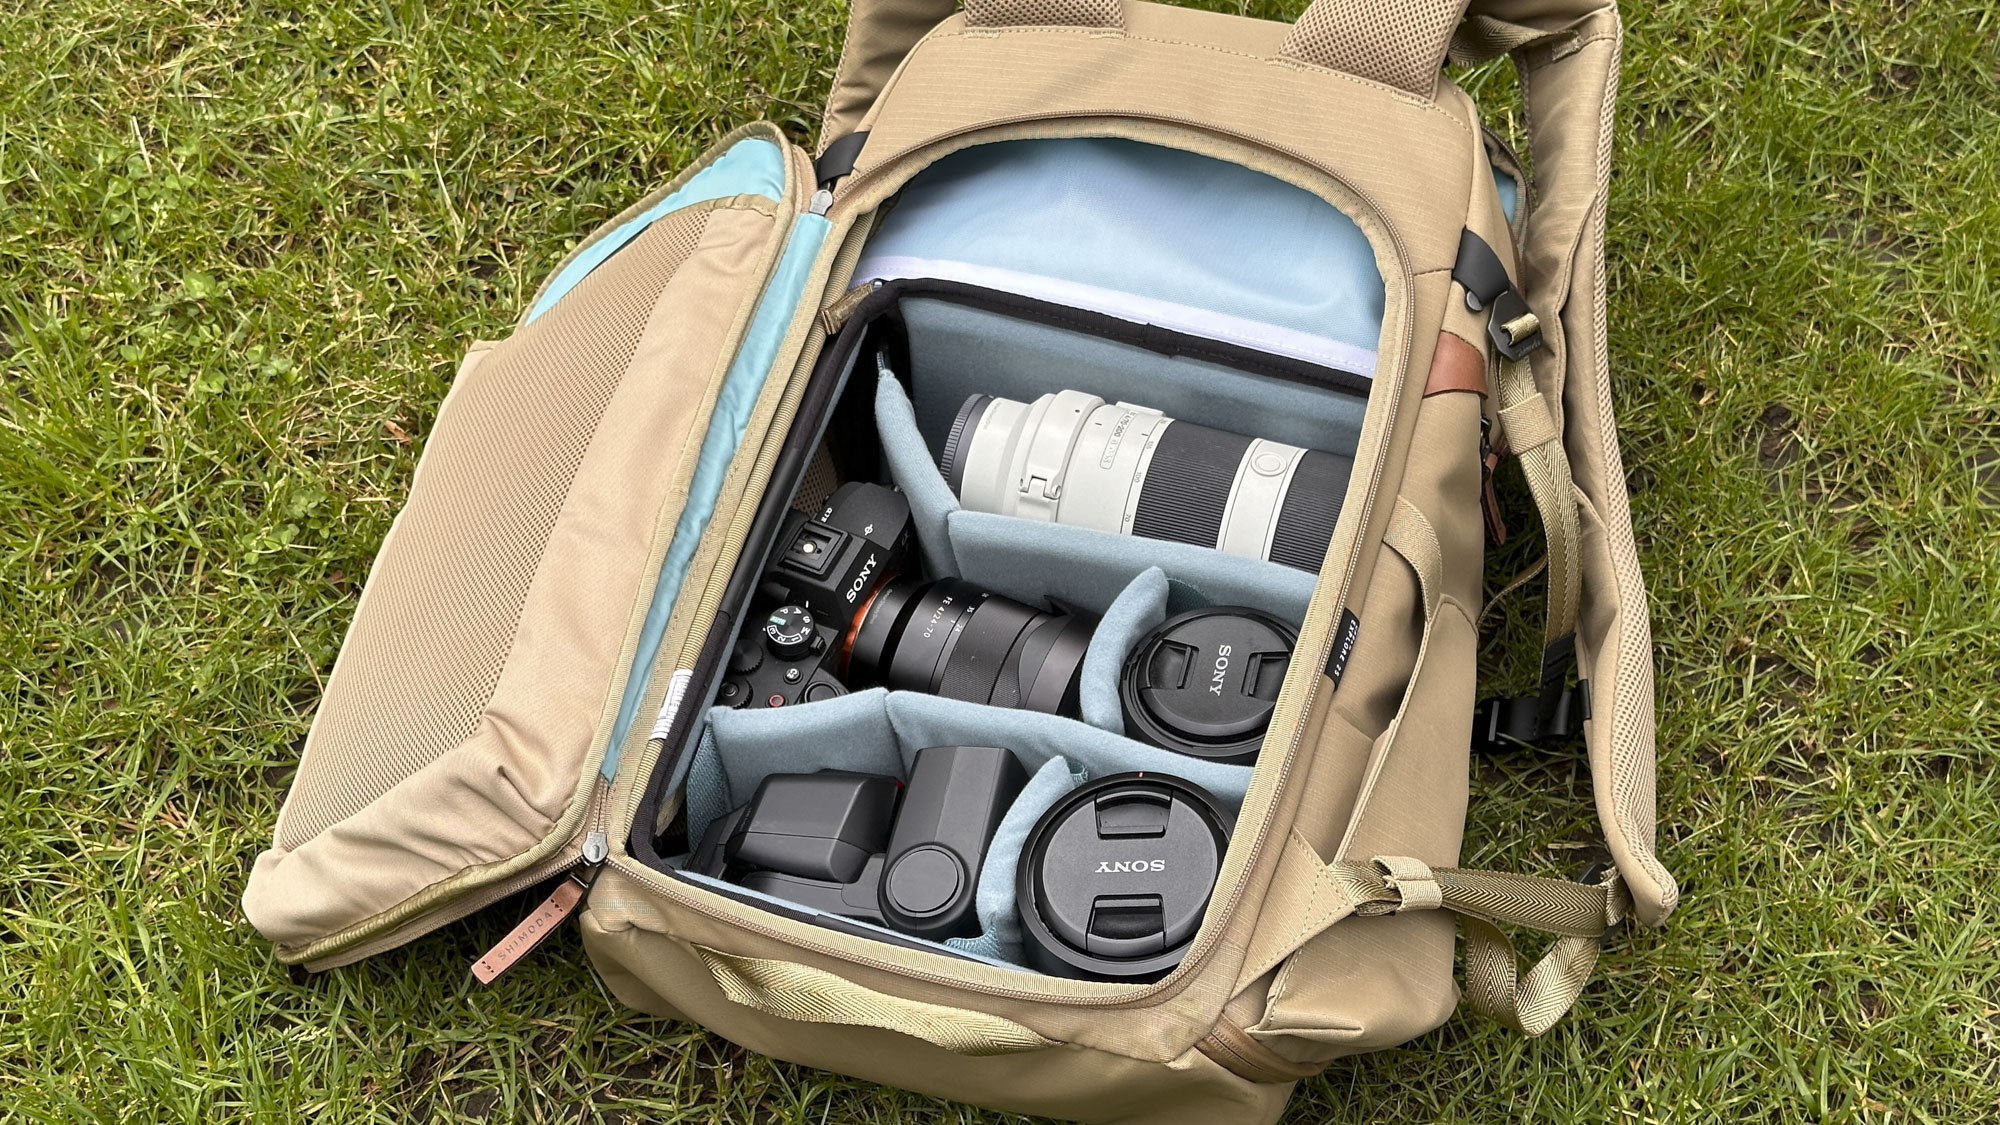
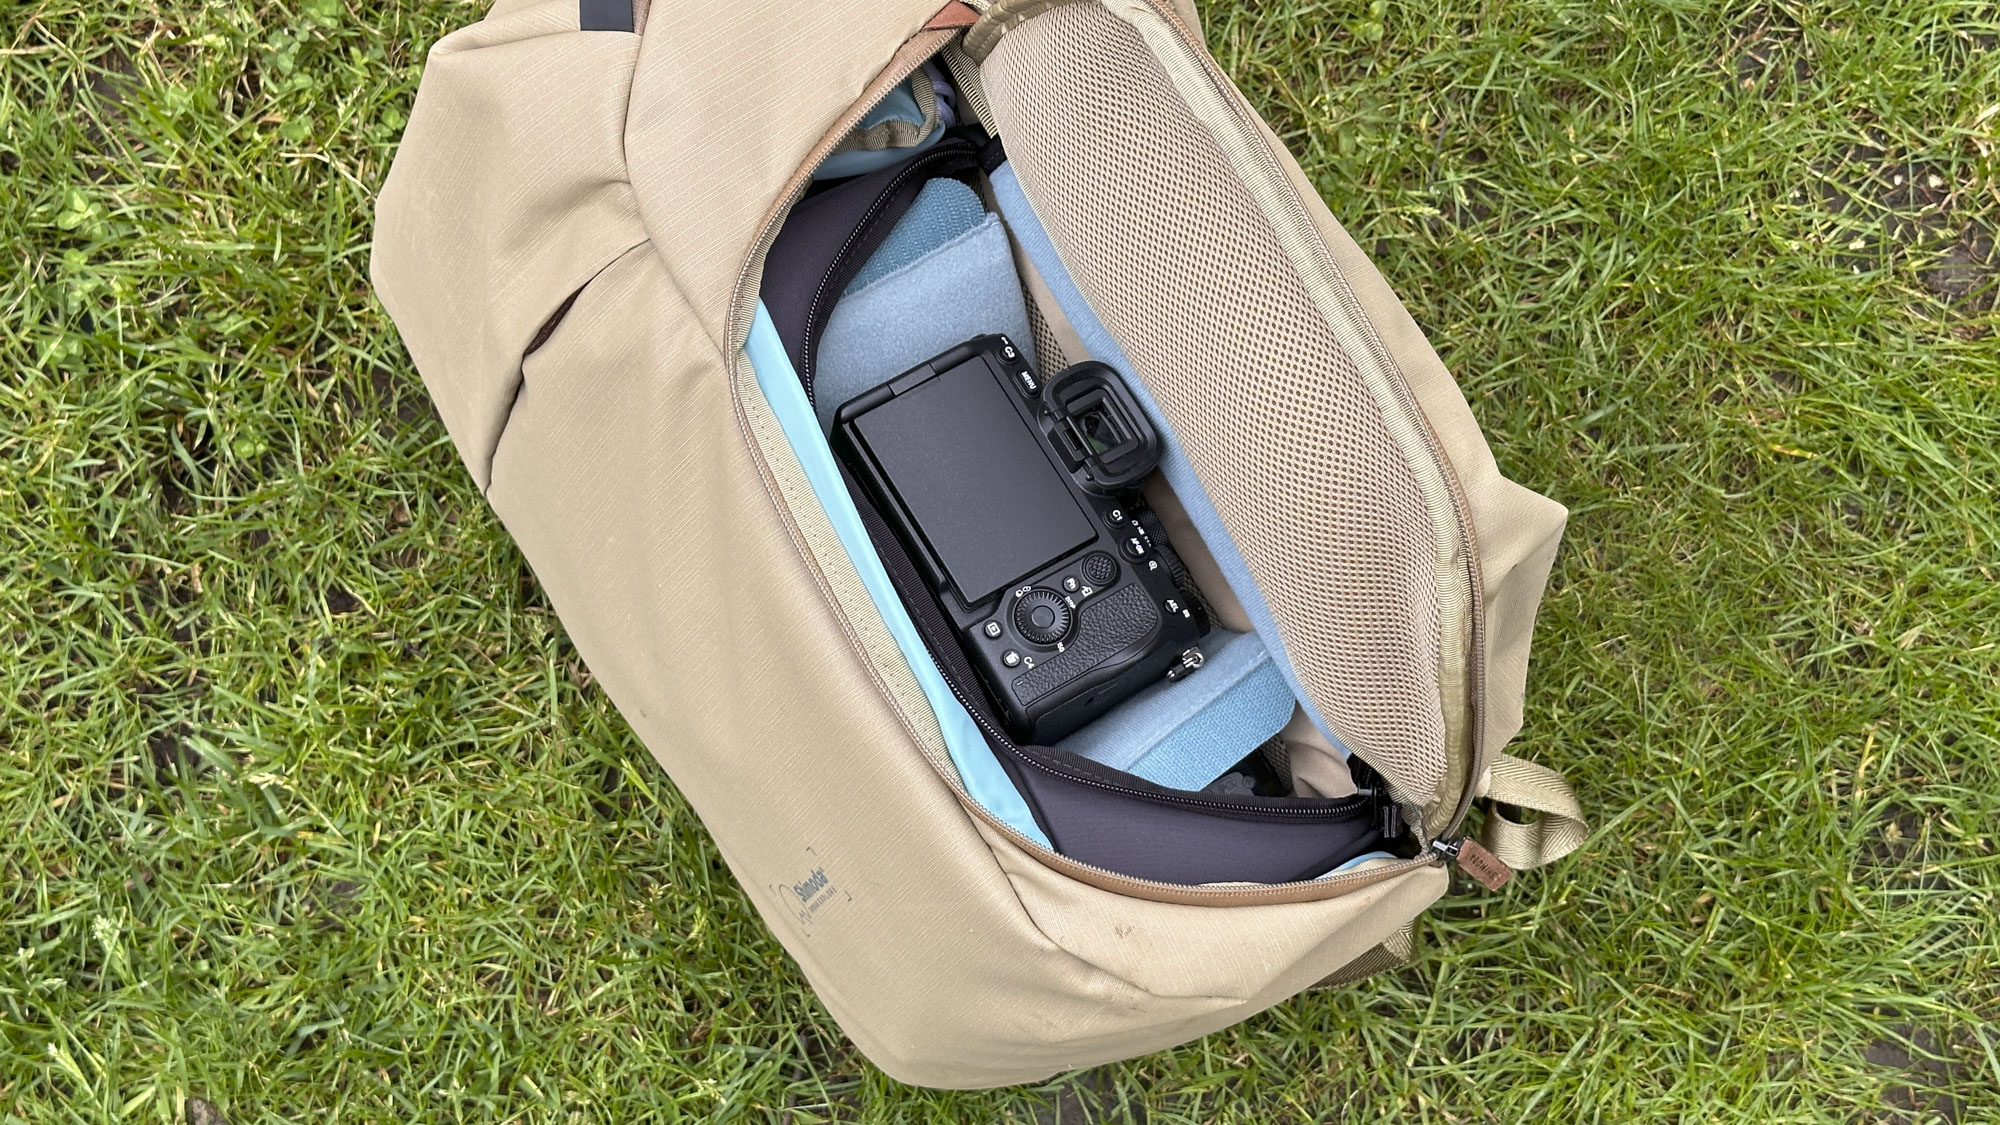
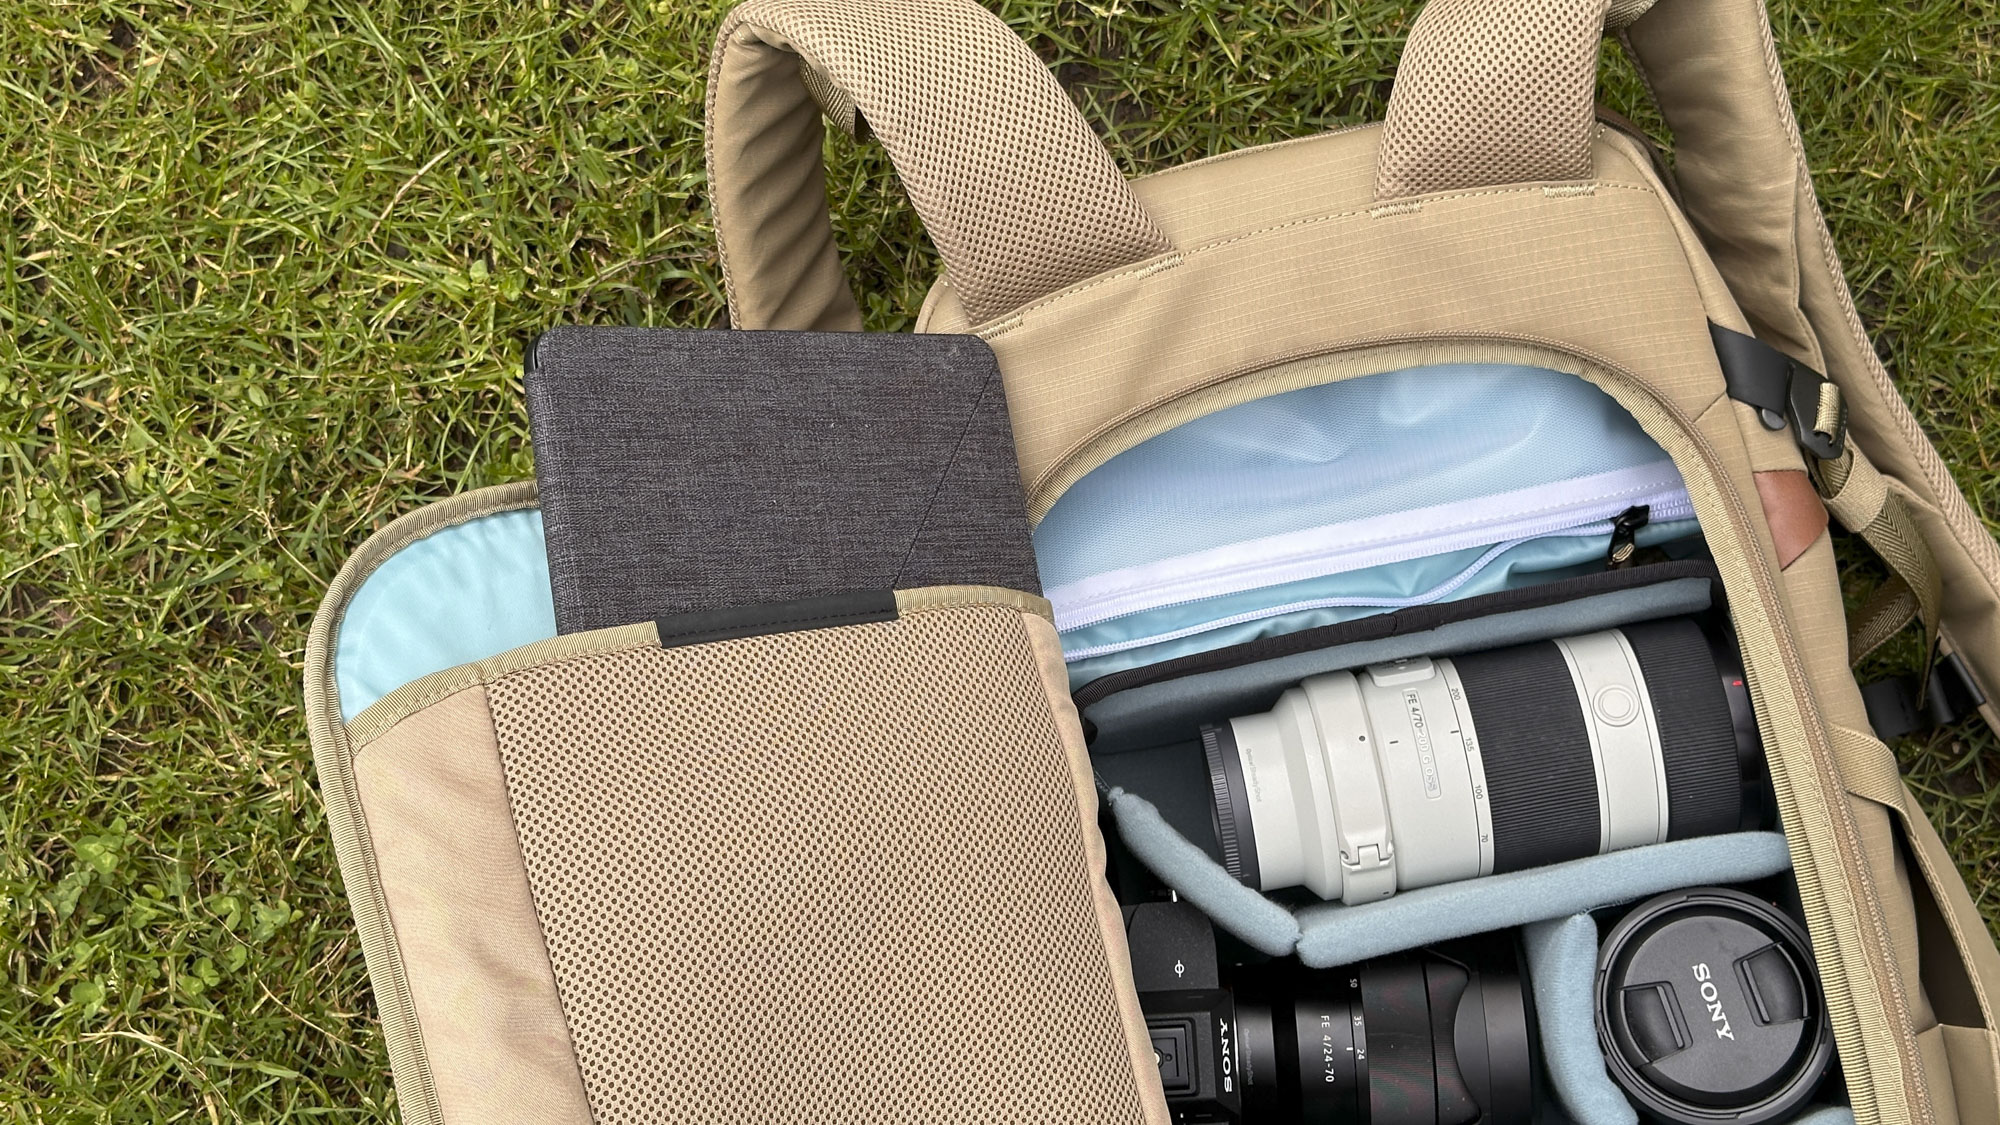
There is a decent amount of space in the removable camera core. I added a Sony A7 IV with a Sony FE 24-70mm f/4 lens mounted to it. This was easily accessible when I needed access from the side compartment. It is worth adding here that access to the camera core can be zipped shut so that even if the side of the bag is open, it requires an additional ‘unzipping’ before your kit can be accessed; again, this adds a touch more security from prying hands. If you want quick access, the side access flap can be tucked into the inside flap of the camera bag, which keeps everything neat and tidy.
In addition to the camera and mounted lens, I could fit a FE 70-200mm f/4 lens as well as a couple of smaller lenses and a flashgun. In summary it has the space you need for a weekend shooting. The camera core also has a hard metal internal frame on one side to prevent your gear from getting crushed in an overhead plane compartment. There is a second metal frame around the edge of the rear of the bag, again preventing it from being crushed easily but also allowing it to keep the bag shape and sturdy.
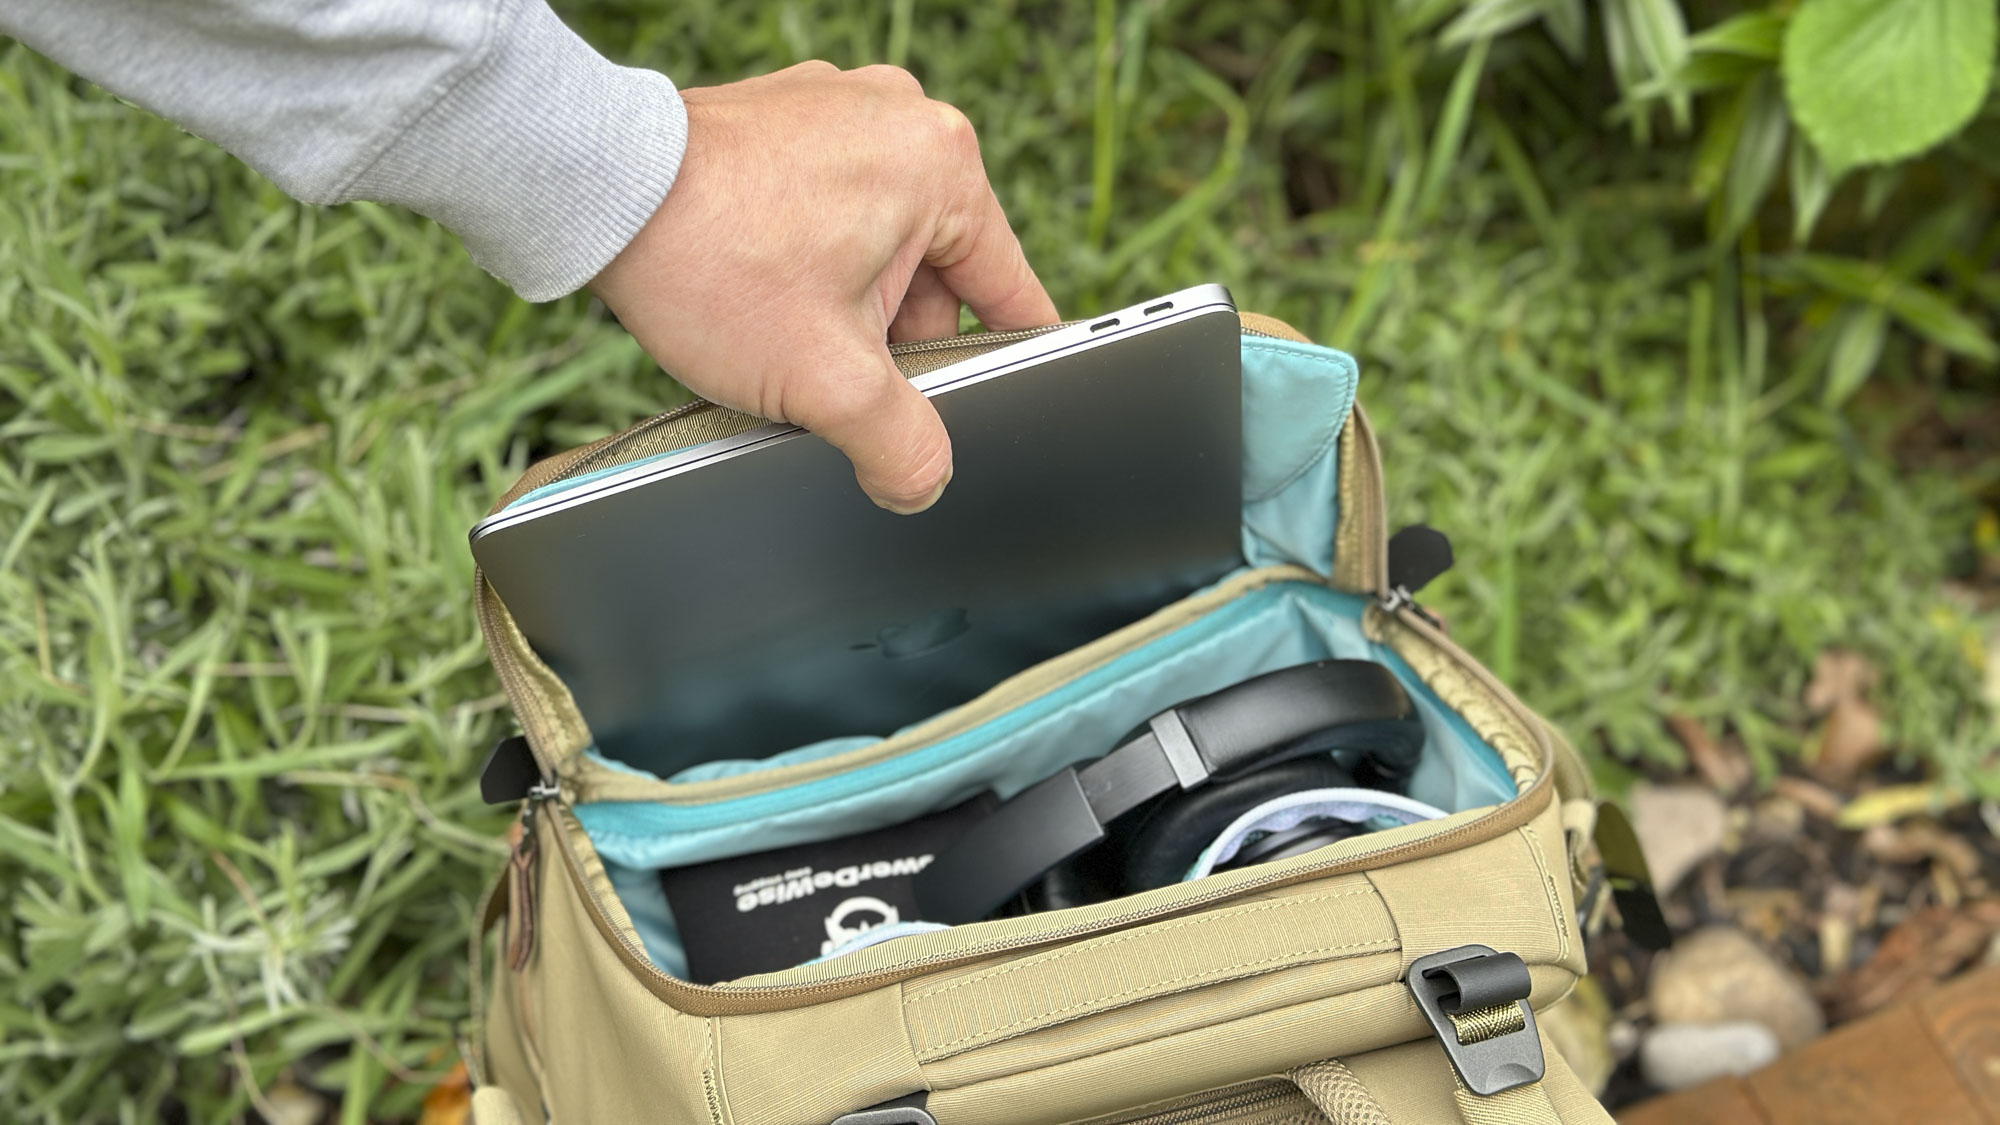
Getting access to your laptop is easy. The laptop compartment is accessible from the top compartment, and it runs down the front of the bag rather than sitting against your back, which is more common. Instead, it is the tablet compartment that takes up this spot on the back of the backpack, and it is accessed from the main camera compartment.
There is plenty of space in both the laptop and tablet compartments. The laptop compartment measures 25W x 35.5H x 2D cm / 9.8W x 14H x 0.8D in, meaning it should fit a 16-inch laptop with no issues. I used it for my 13-inch MacBook Air, and it was swimming around in there. My laptop also fits in the tablet compartment, so iPad Pro users shouldn’t have any issues.
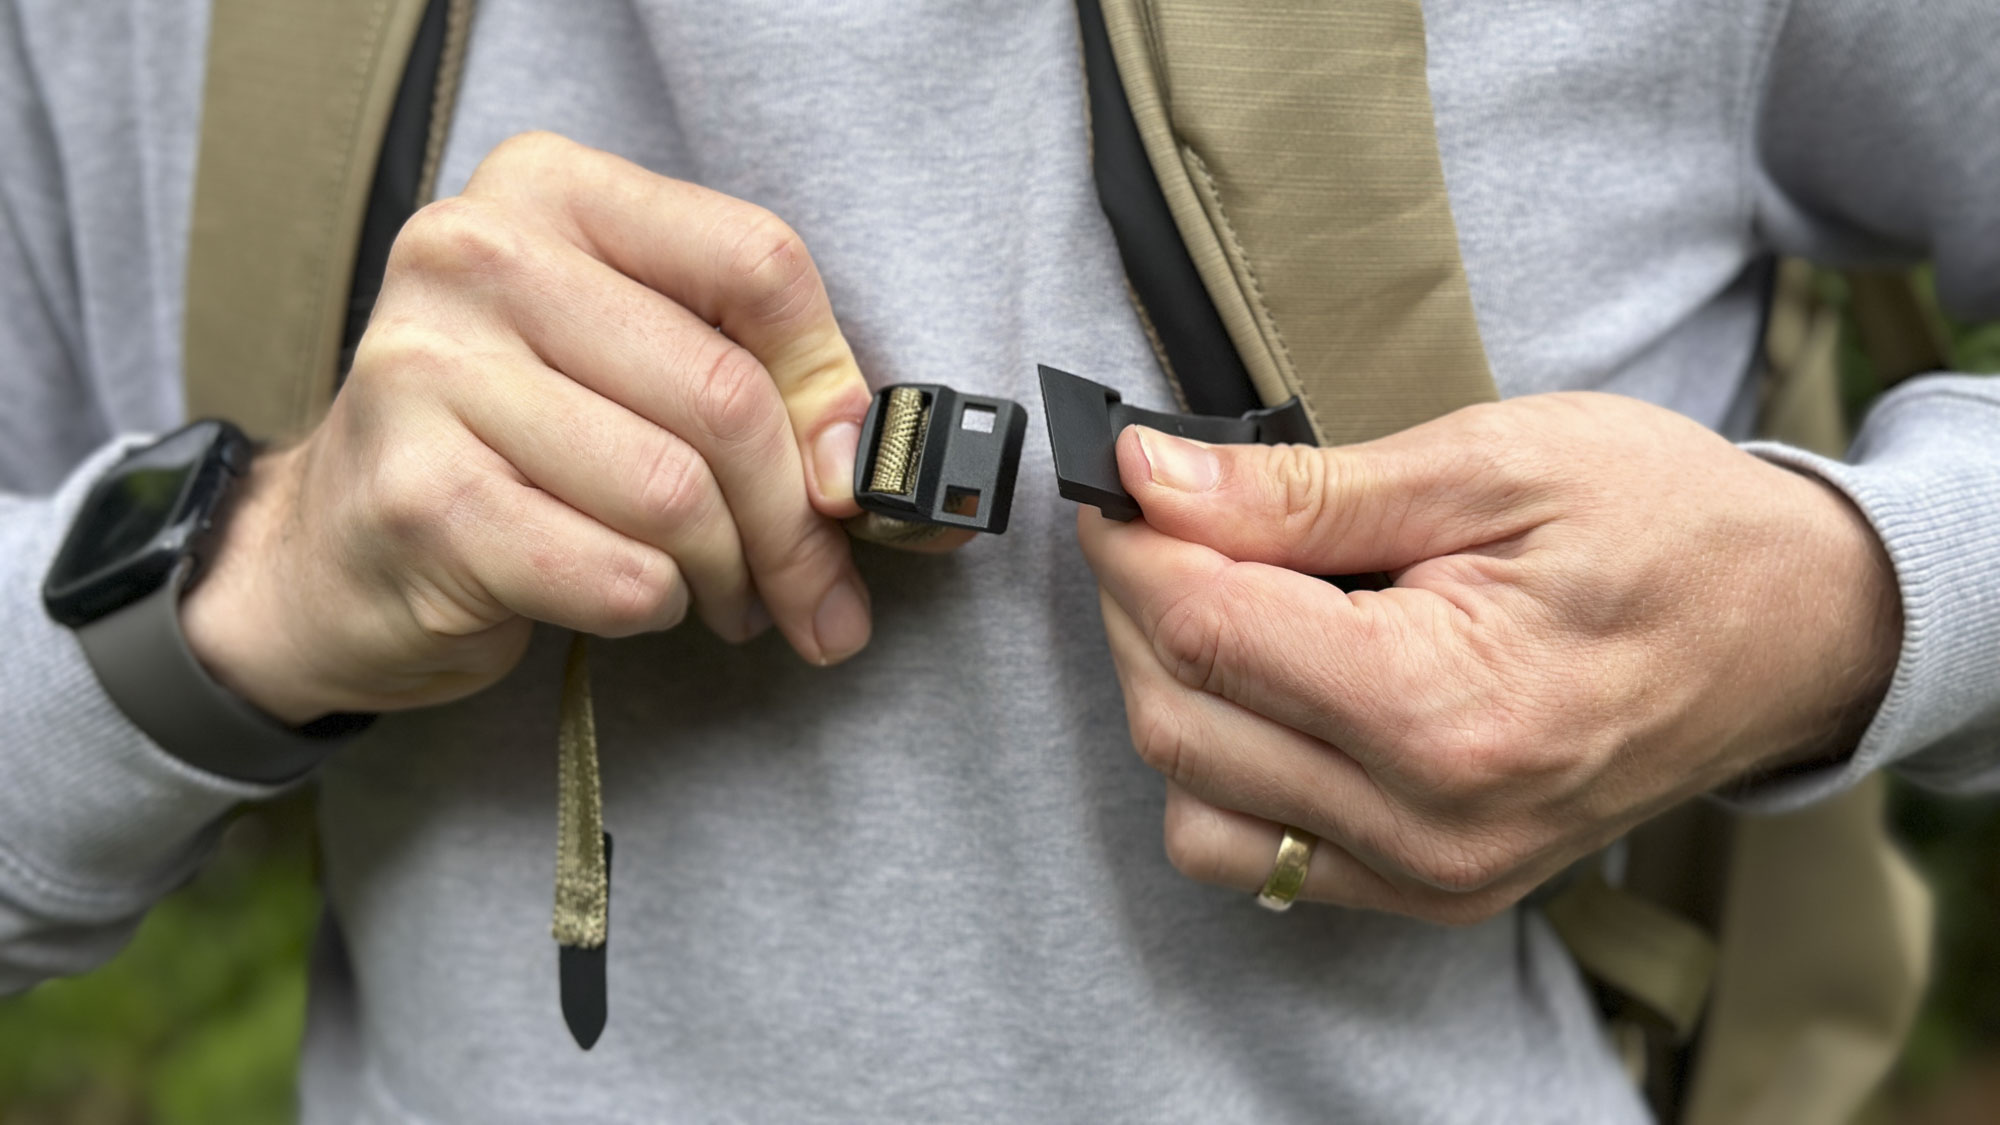
The straps on the bag are nicely padded, offering a comfortable carrying experience. They are also adjustable at the top, allowing the user to get a good fit over the shoulder as well as being able to adjust the length. One of the straps also has a little accessory mount, allowing a camera clip, such as the Peak Design Capture Clip, to be easily attached.
A chest/sternum strap allows for a snug fit, but sadly, there is no waist strap, although there is a way of adding a third-party one behind the cushioning on the bottom of the rear of the bag. All of that said, this is very much a city bag rather than one you will be taking out on technical hikes, so the lack of a waist strap is completely understandable.
There are some lovely design touches on the bag, including an easy-access Apple Air Tag pocket – it is nice to have a dedicated place for it within the bag. The passport pocket is tricker to find and access, as it should be; no one will be slipping their hand in your bag and getting your passport out.
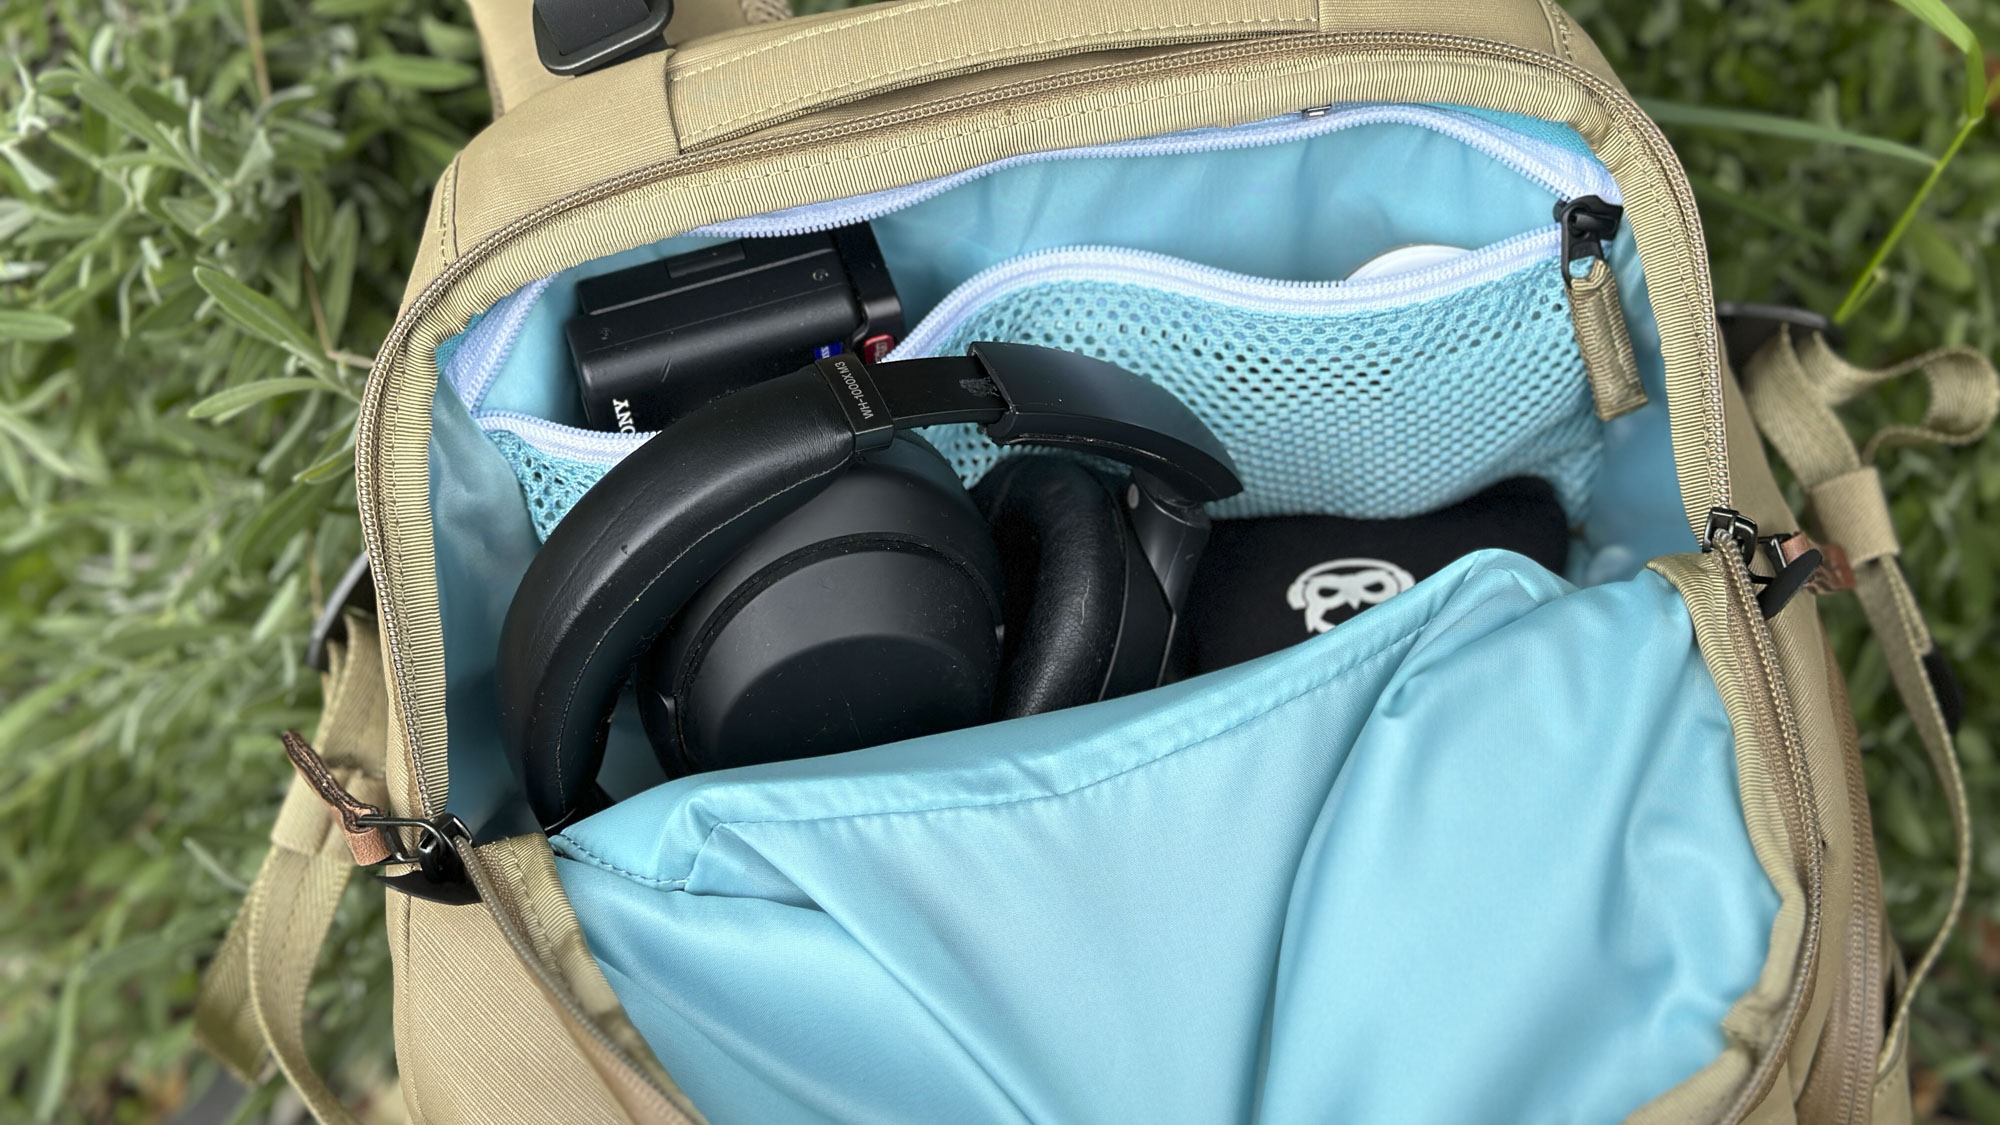
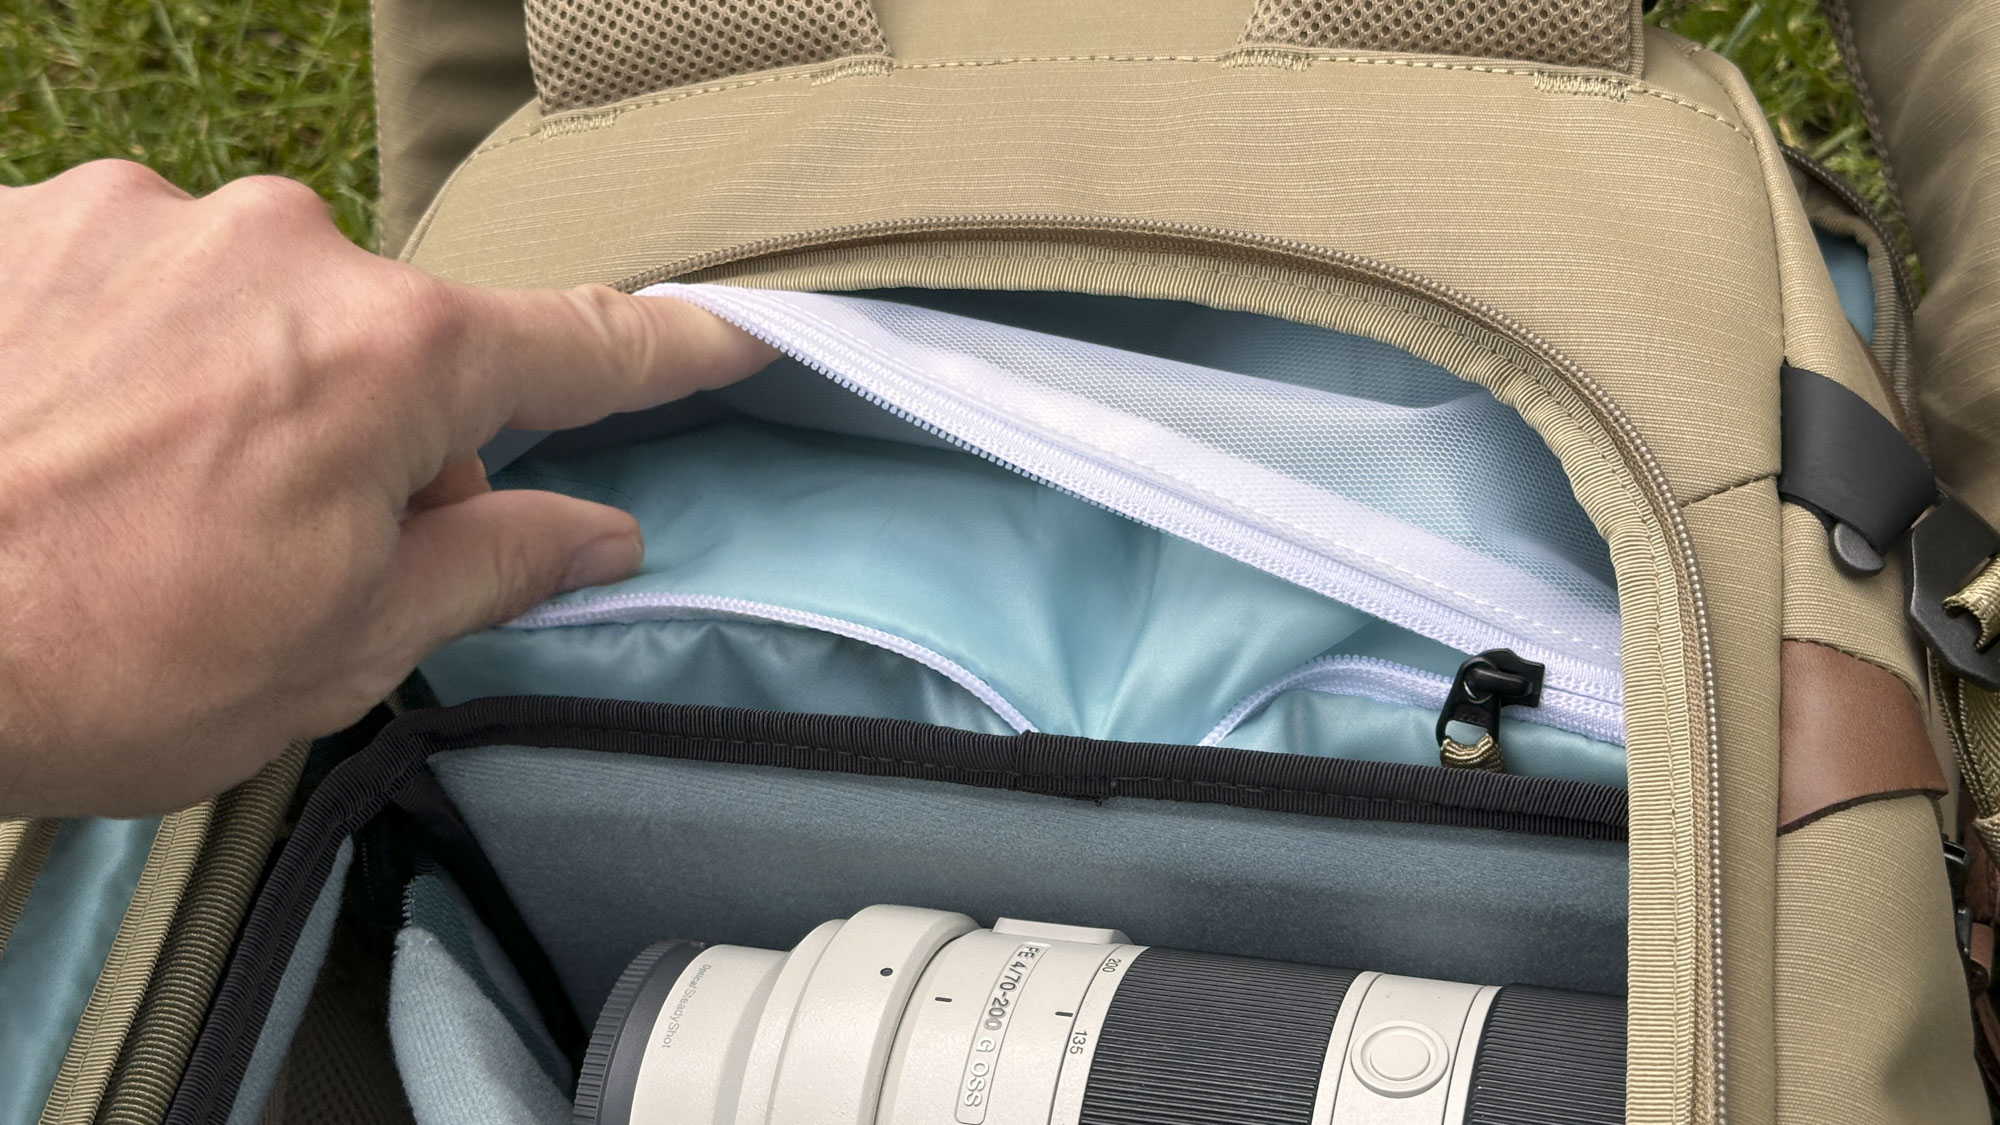
For storing accessories, the bag has plenty of space. The top compartment has a zipped mesh pocket, with two individual pockets inside for storing smaller items such as batteries and memory cards. These pockets have a little rubber grip at the top, helping to prevent any items in the pocket from slipping out or shifting around too much; it is a simple touch that adds to the quality feel of the bag. There is also a quick-release loop in this pocket, which could be used for keys or an appropriate accessory.
The top compartment is spacious and can easily hold a pair of headphones and a compact camera; like most top compartments, its location means it is best for things you need quick access to. Interestingly, the entire top compartment can be unzipped. Along with the ability to remove the camera core, this means that the Urban Explore can be used as an everyday backpack when you don’t need all your camera gear.
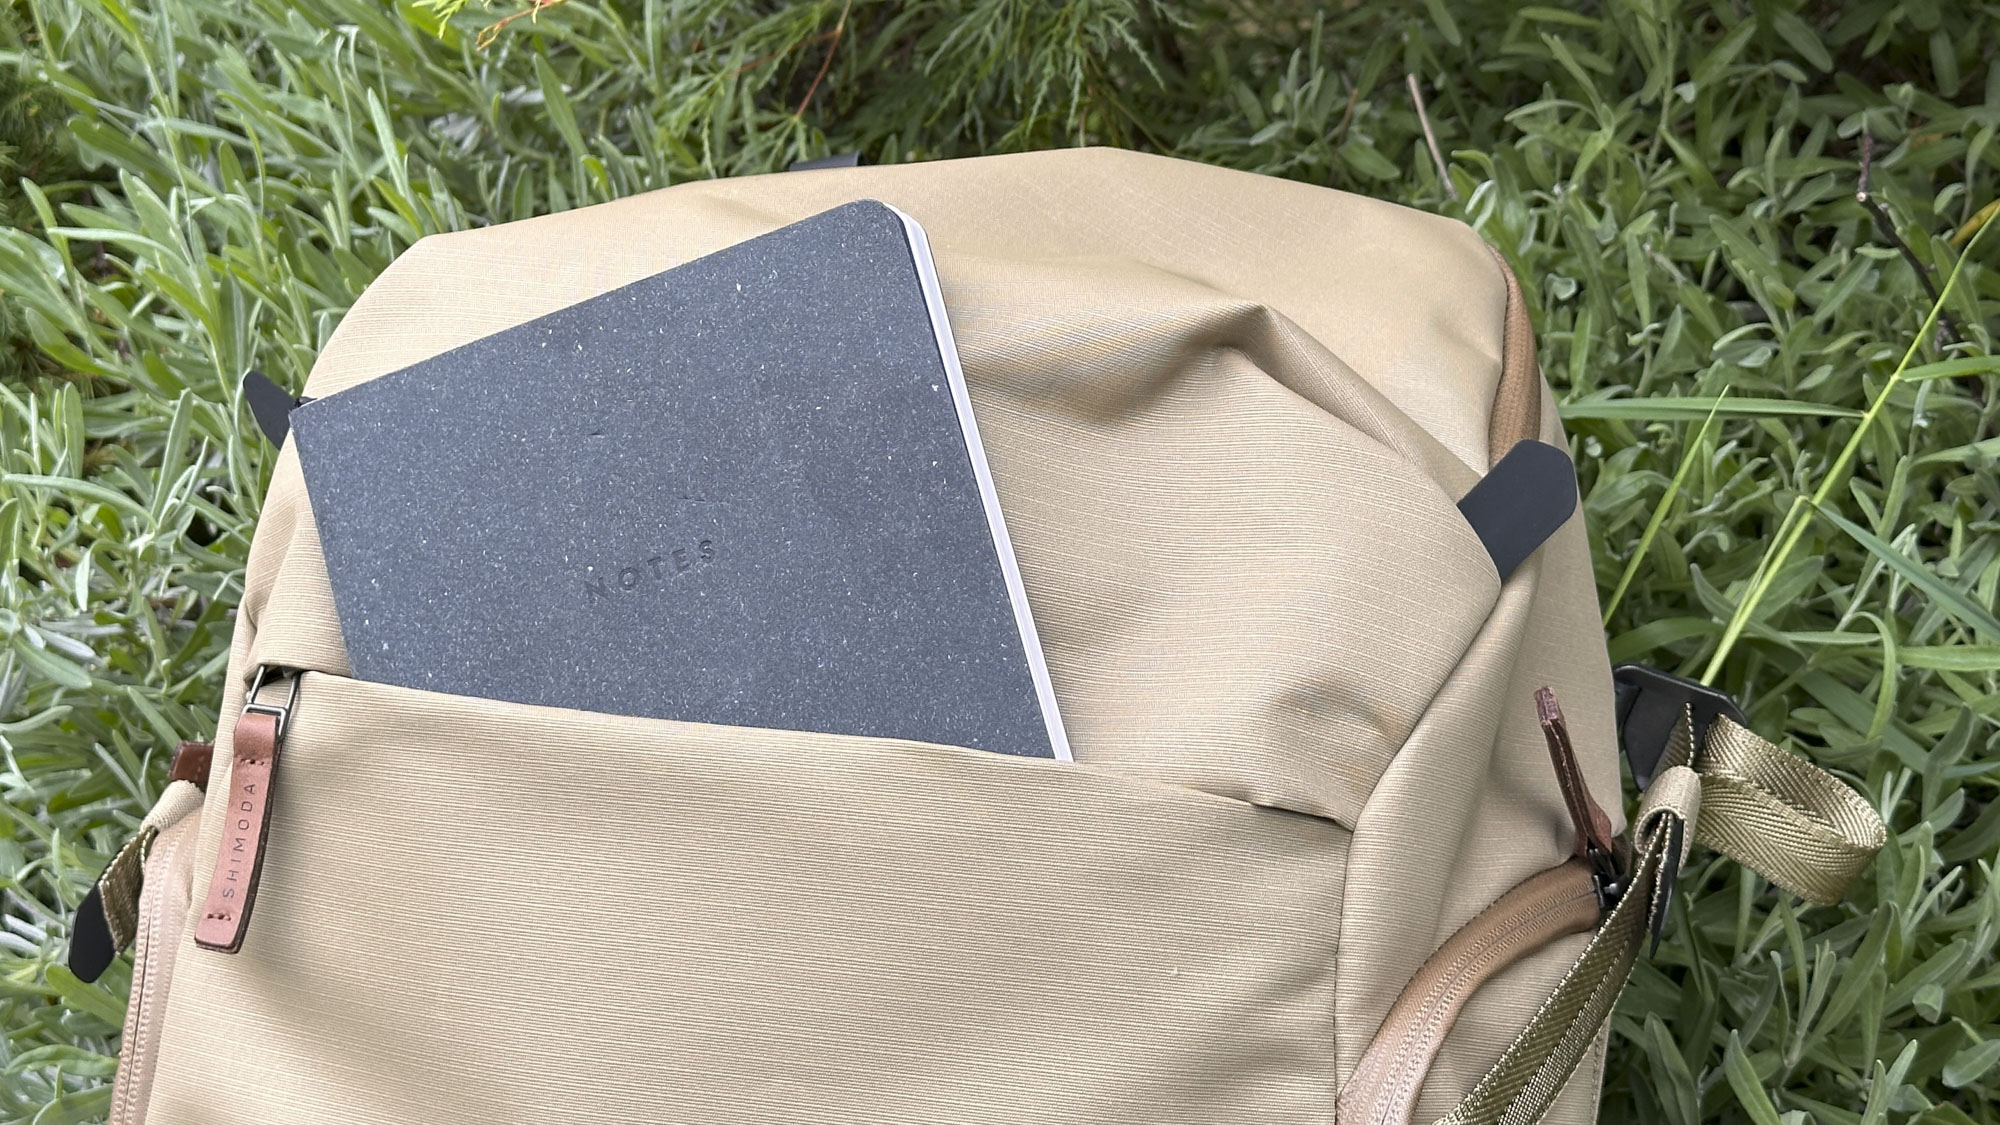
I found the main front compartment to be another useful pocket for easy access to items. The size is perfect for holding a notebook or documents, while the internal plastic pocket is good for smaller general items such as tickets or pens.
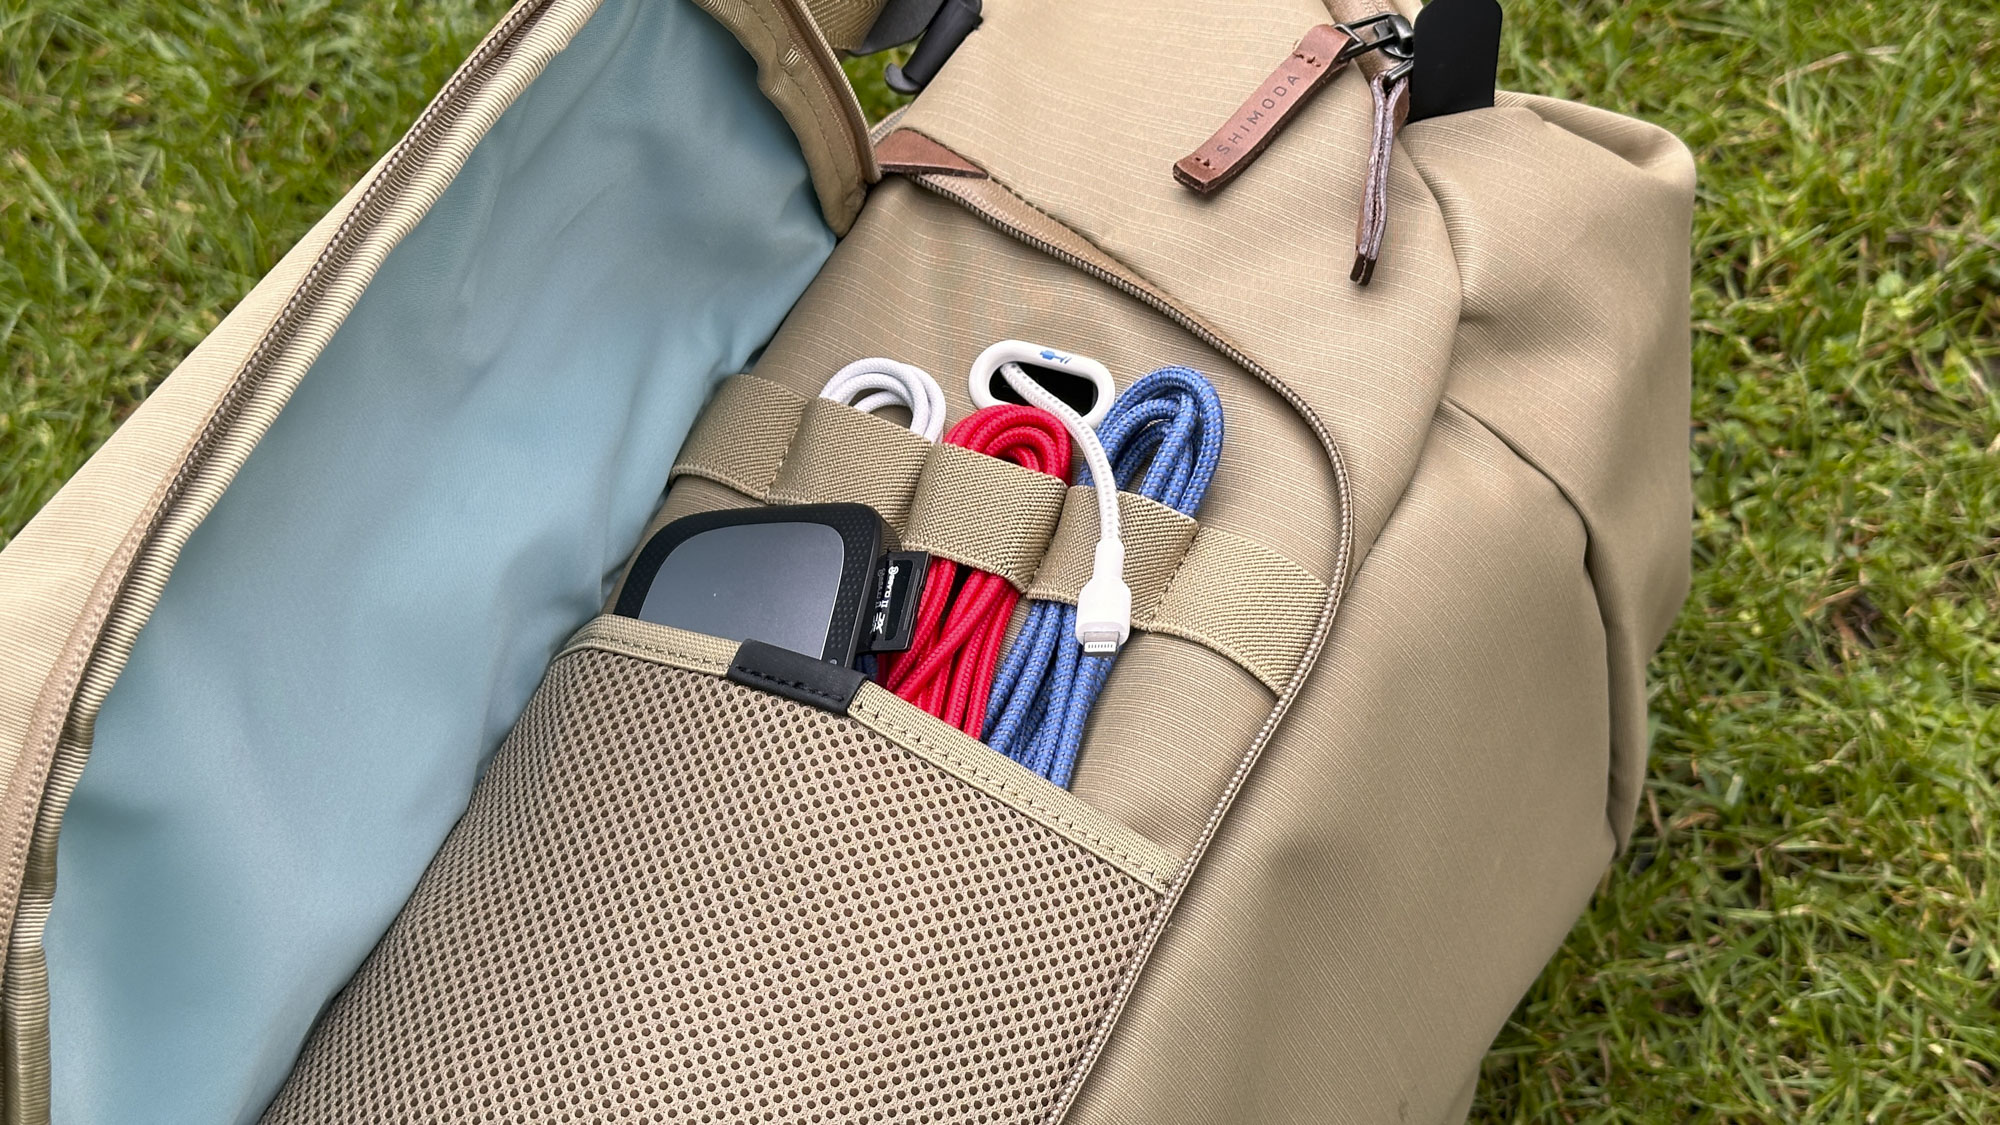
Having a dedicated pocket on the side for cables is great and helps to keep everything tidy and easily found. The USB passthrough comes through this pocket, and one of the few criticisms of the bag is that there isn’t a dedicated space to put a USB battery, although it is easy enough to put it in the main camera core or even thread a long enough cable through the top compartment; it isn’t a big deal but seems something of an oversight when so much great design has been implemented elsewhere.
Besides the camera core, the main compartment is spare, except for a plastic pocket, which is effectively the rear of the top compartment. This pocket isn’t the easiest to access, so it is suitable for things that you may need less often—lens and sensor cleaning kits, spare cameras and lens caps, batteries, etc.
The only other thing of note is that the bag’s waterproof cover is tucked into a fold at the bottom of the main compartment. While the bag is water resistant, in a really heavy prolonged rain shower, the rain cover isn’t the easiest to access when you really need it. And it could potentially mean exposing your camera gear to the elements to retrieve it. Again, the bag is designed for the city, so you should be able to find shelter somewhere; so for the target market, it isn’t a deal breaker by any means, but you would have thought there could be a better place for the cover or at least a better way of retrieving it.
One thing I liked was the fact that the bag has handles on the side, top, and bottom. You can grab it easily and securely from any angle, which is reassuring when you need to put it in an overhead locker on a plane or generally just move it around.
Carrying a bag with a mid-size tripod was no issue. I just about managed to squeeze all three legs into the side pouch designed for a bottle or tripod legs. Smaller travel tripods will fit comfortably and won’t shift around, and for larger tripods, you can just put two legs in and use the straps to tighten everything in place.
Should I buy the Shimoda Urban Explore 25?
Buy it if…
Don’t buy it if…
How I tested the Shimoda Urban Explore 25
- I used the bag as a daily camera backpack
- Walk around 5k with the bag on my back
- Packed it with as much gear as possible
I have tested the Shimoda Urban Explore 25 by using it as an everyday camera bag. I carried my laptop in the backpack and set off to work in a coffee shop, taking all my weekend camera kit with me for some shooting before and after.
While out and about, I used the bag as I normally would, taking items in and out of the compartments and pockets to use them, all the time thinking about the bag’s weak points and whether anything could be designed differently to speed up access or make things more secure.
It is very difficult to design bags that are overtly different. Most backpacks have standardized layouts, so I was looking for small features on the bag that would make a difference in how I would use it.
First reviewed June 2024

